下载 MySQL Server 8.0
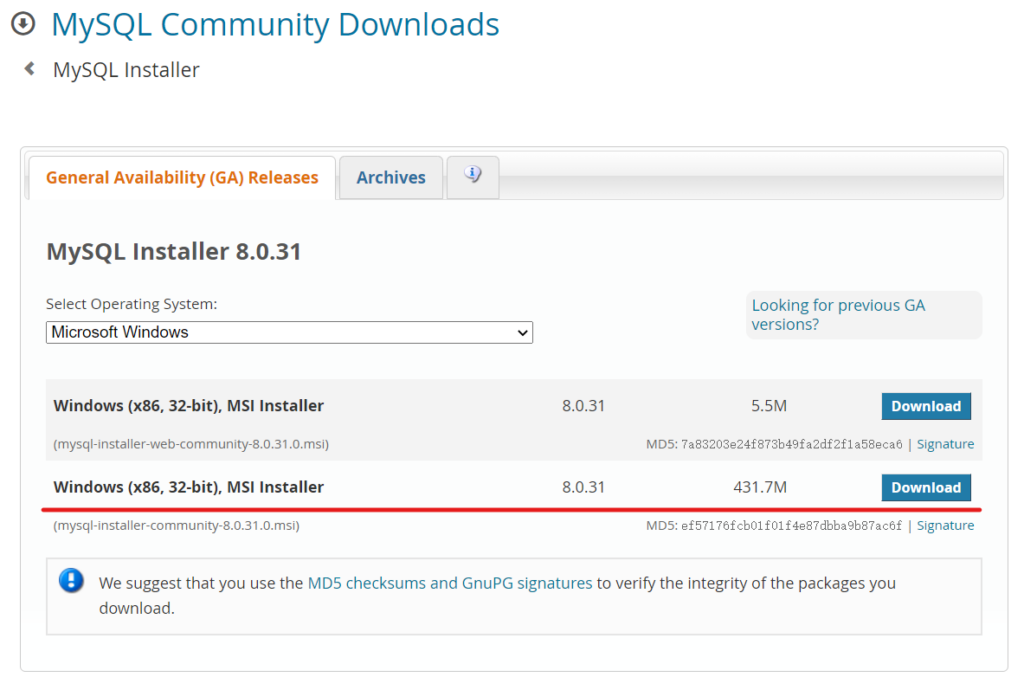
正式安装之前,先到官网下载 MySQL 最新安装包,下载地址点我直达。选择 Microsoft Windows 操作系统,点击 Go to Download Page ,进入 MySQL Installer 下载页面。下载 Windows (x86, 32-bit), MSI Installer 本地安装包,保存到本地磁盘,备用。
安装 MySQL Server 8.0
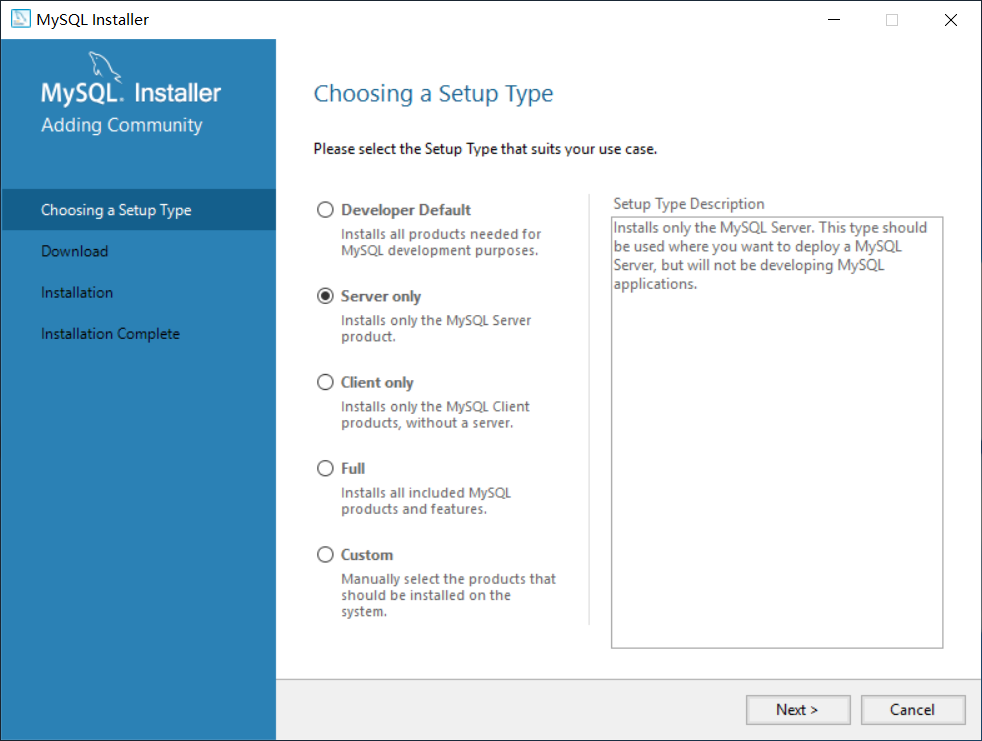
双击下载的 MySQL Installer ,启动 MySQL Server 8.0 安装。安装类型选择 Server only ,点击 next 进入下一步。
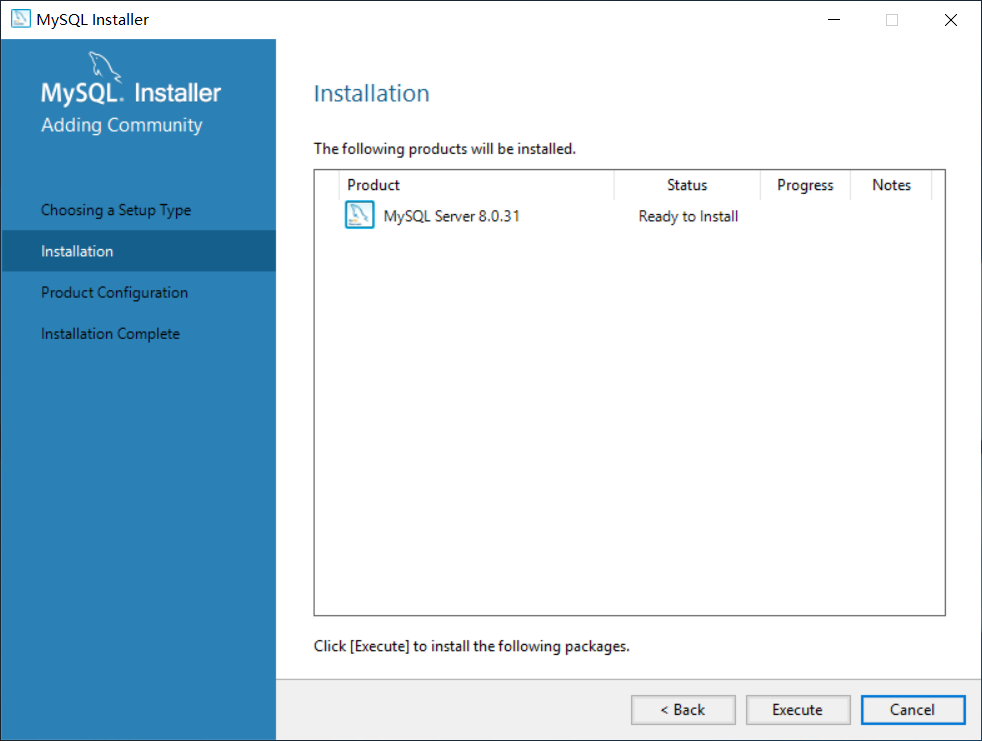
点击 Execute ,开始安装。
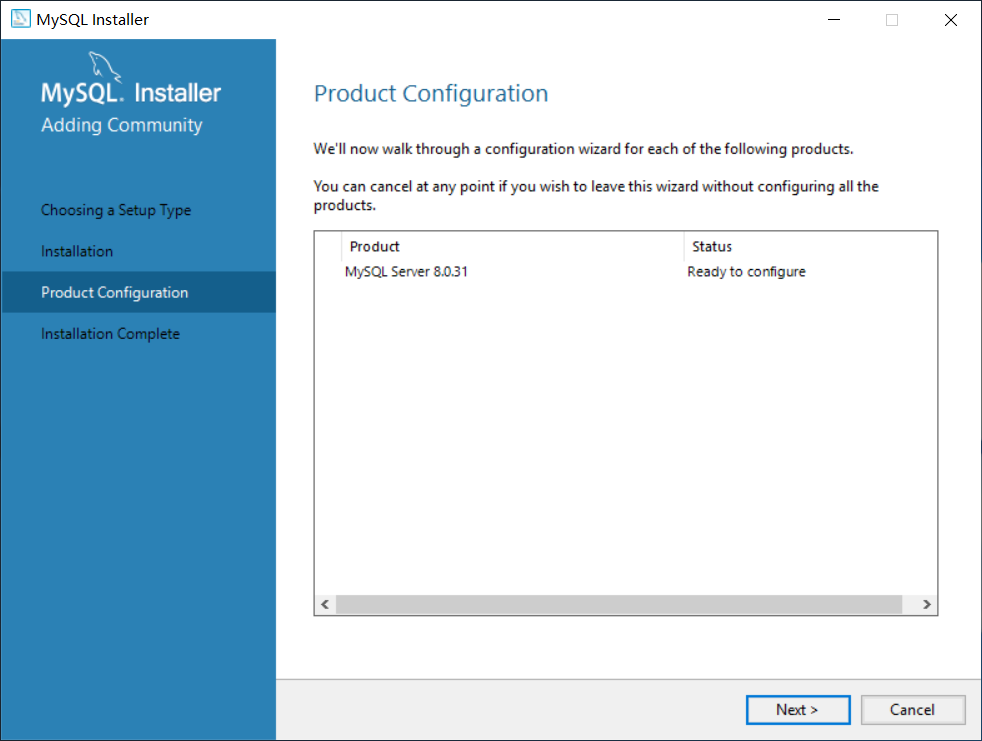
安装完成,点击 next ,进入配置界面。

Product Configuration ,显示要配置的产品,点击 next ,继续。
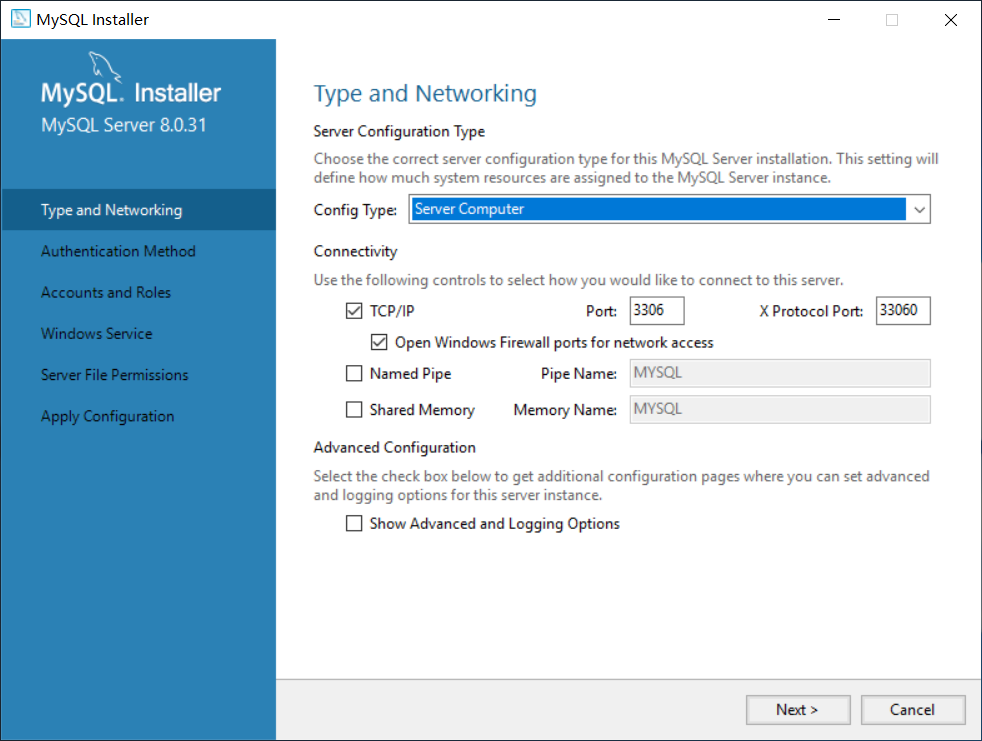
Server Configuration Type 选择 Server Computer ,其它参数默认,点击 next ,进行下一步。
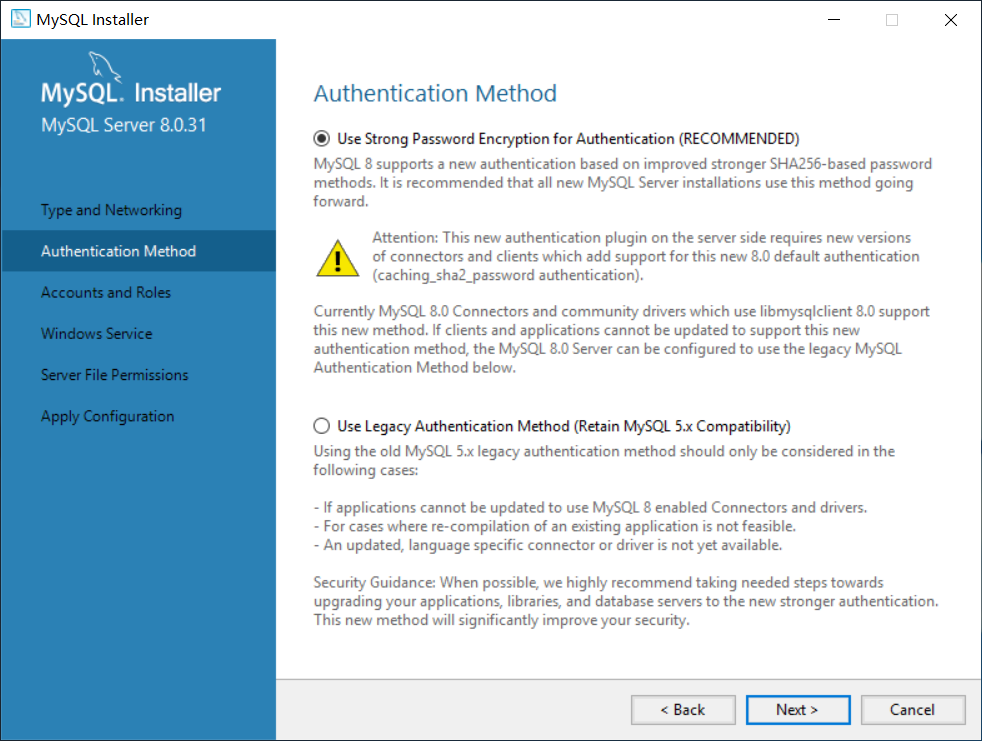
Authentication Method 默认,点击 next ,进行下一步。
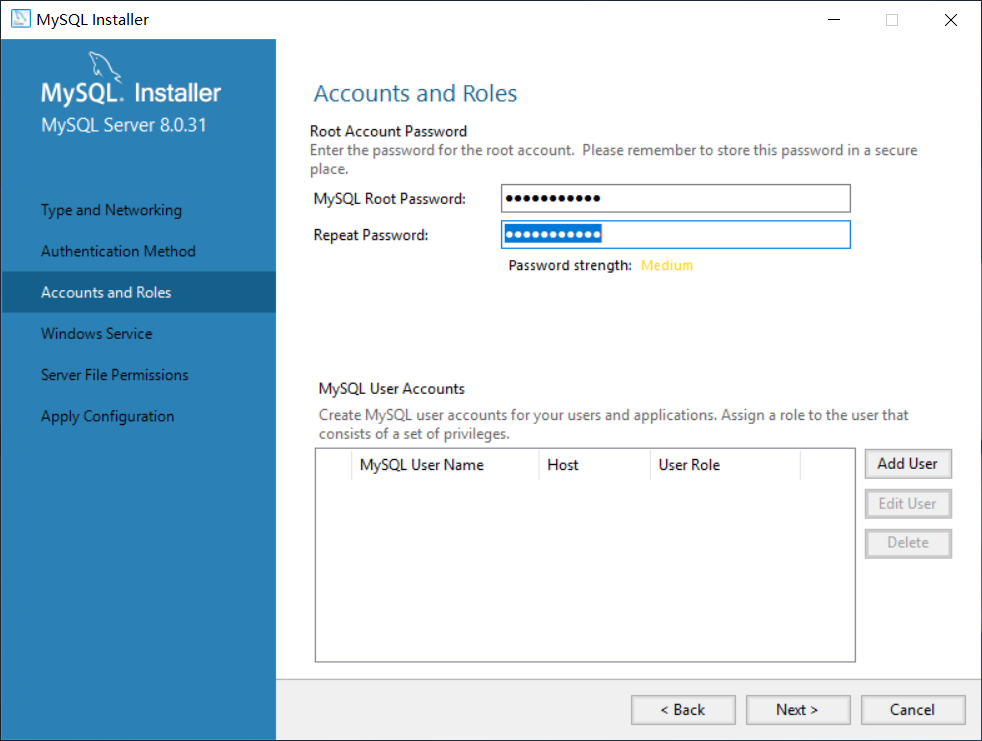
设置 root 账户密码,点击 next ,进行下一步。
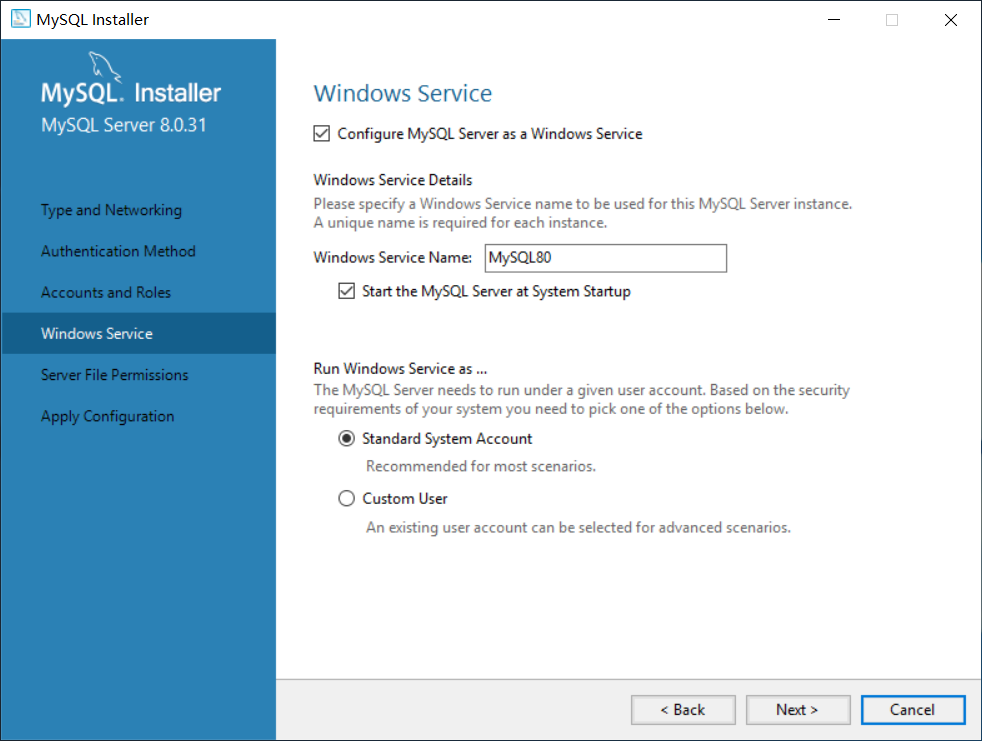
将 MySQL Server 设置成 Windows 服务,选项按默认即可,点击 next ,进行下一步。
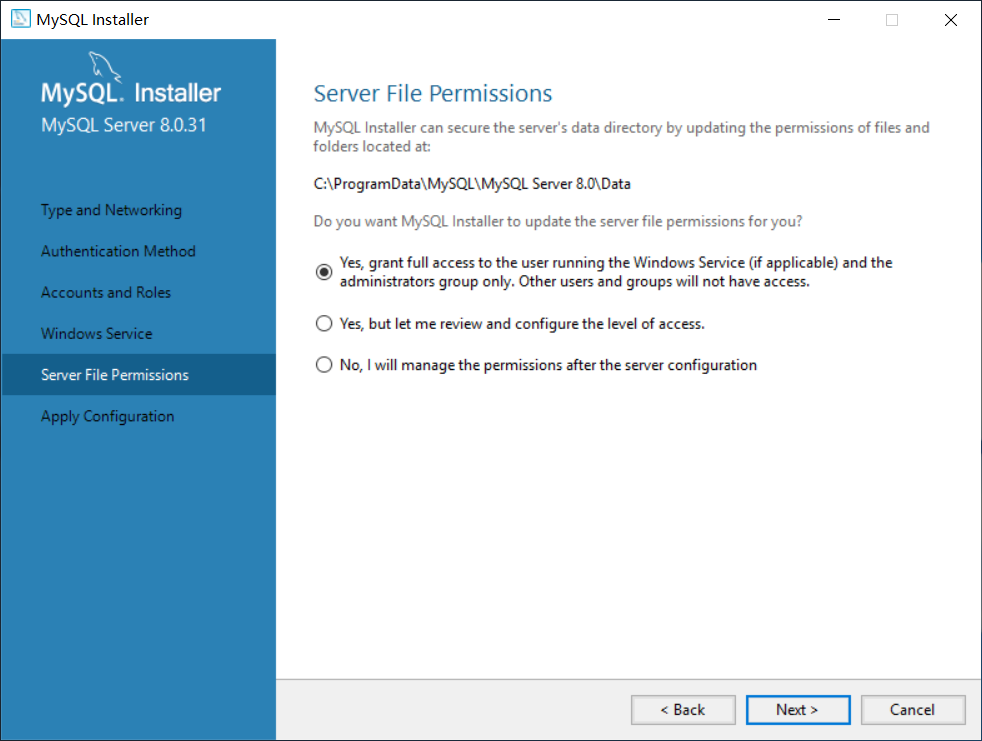
更新文件权限,选项按默认即可,点击 next ,进行下一步。
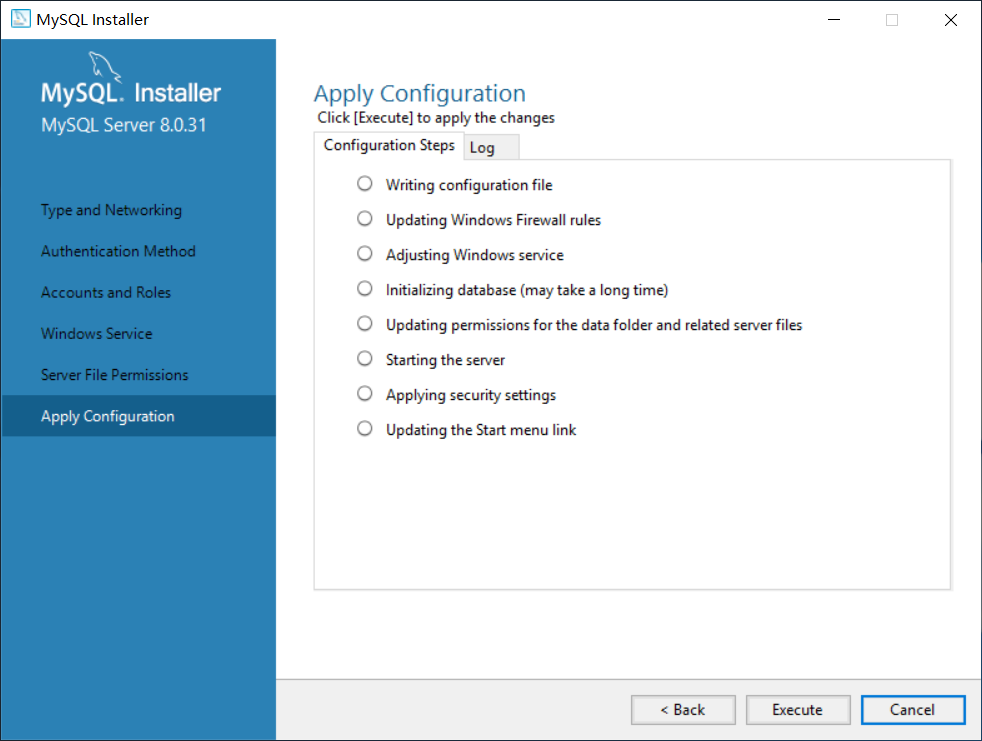
显示要应用的配置项,点击 Execute ,开始安装。
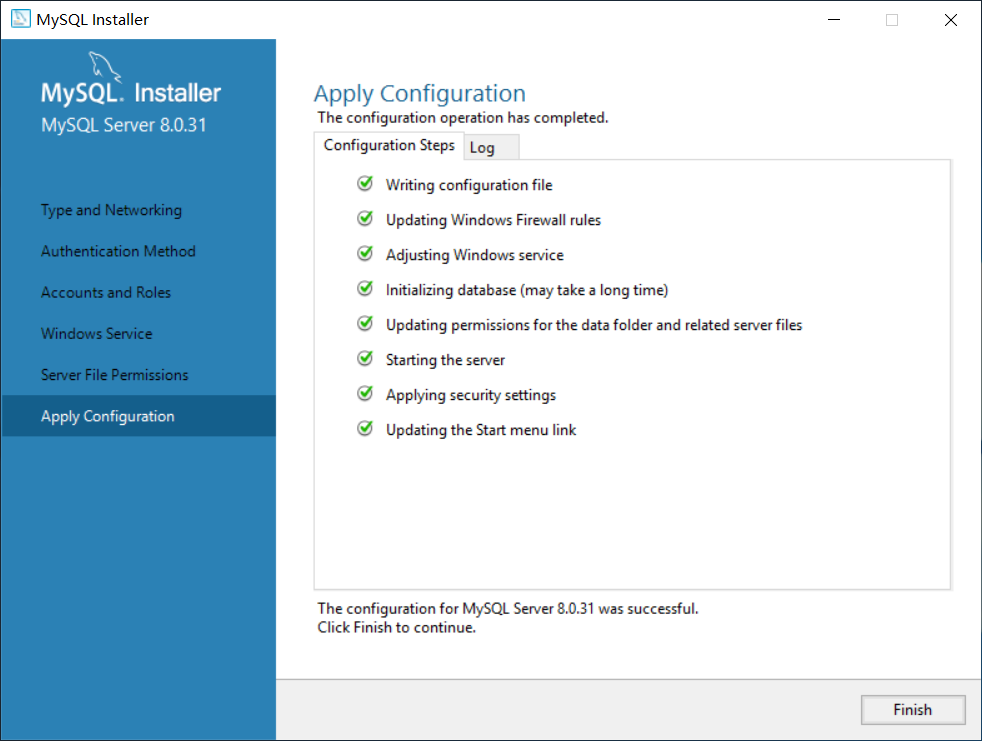
配置完成,点击 finish ,进行下一步。
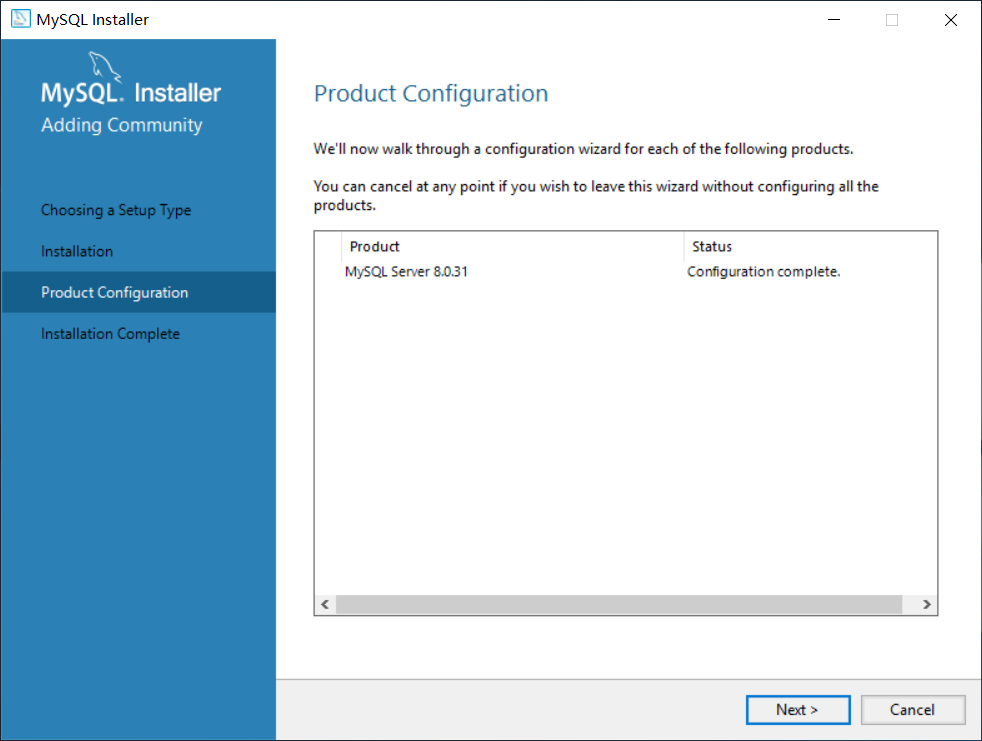
显示产品配置完成,点击 next ,进行下一步。
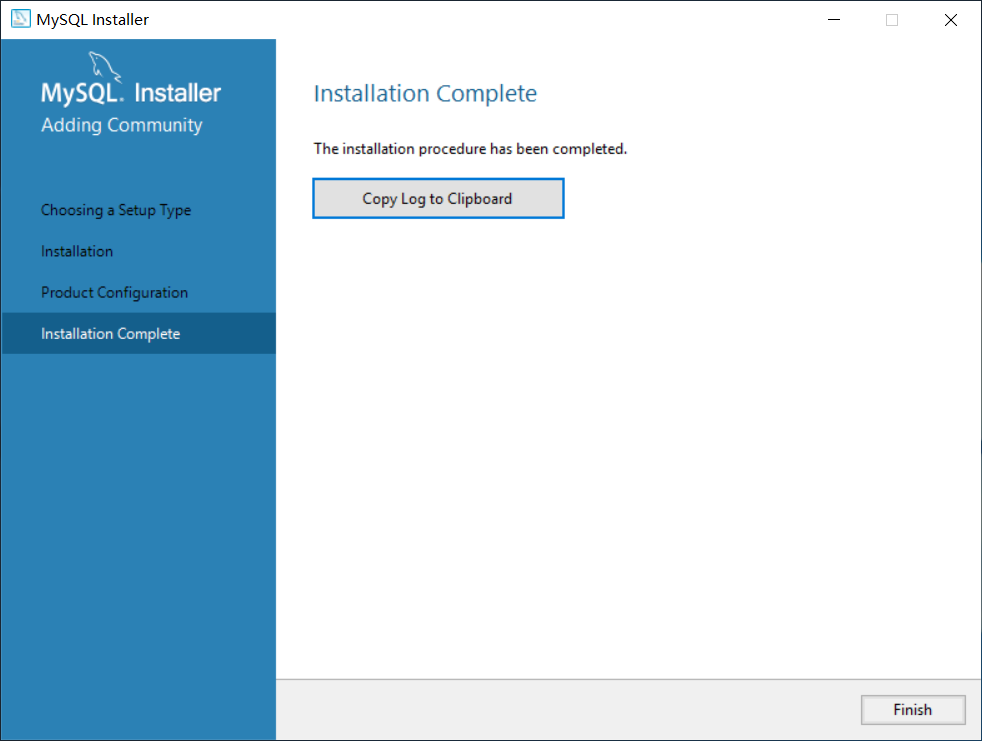
点击 finish ,结束 MySQL Server 8.0 安装。
管理 MySQL Server 8.0
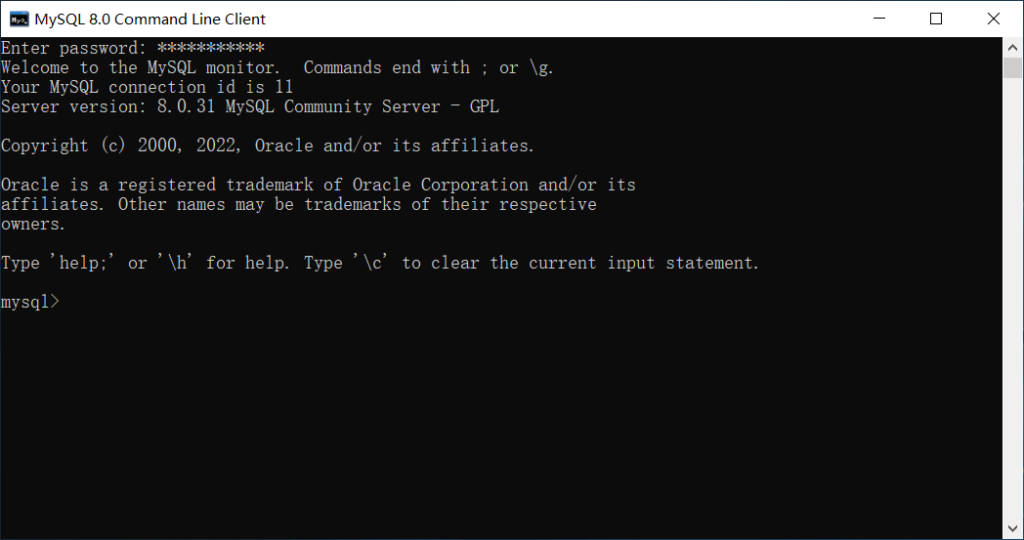
通过 MySQL Command Line Client 管理 MySQL Server 8.0
依次点击 开始 – MySQL – MySQL Command Line Client ,进入 MySQL Server 控制台。输入 root 用户密码即可登录。
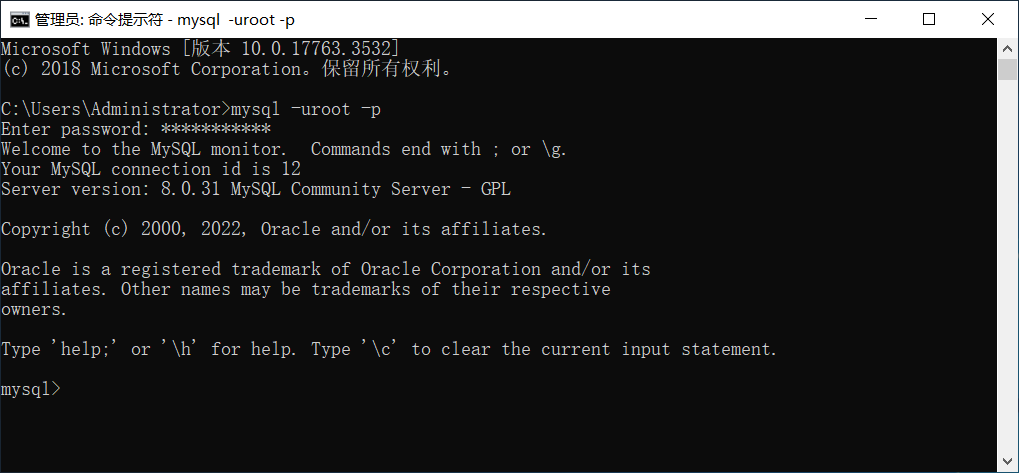
通过 Windows 终端管理 MySQL Server 8.0
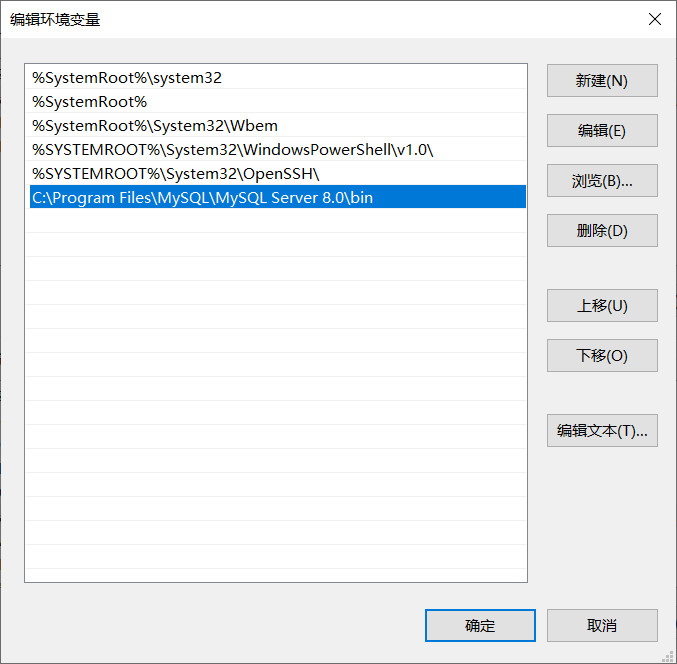
首先为 MySQL Server 8.0 添加系统环境变量:在 Path 后新建环境变量,变量值为 MySQL Server 8.0 安装目录中的 bin 目录路径:C:\Program Files\MySQL\MySQL Server 8.0\bin
依次点击 开始 – Windows 系统 – 命令提示符,打开 Windows 终端。输入 mysql -uroot -p 进行登录,提示输入密码,输入 root 密码即可登录成功。
开启 root 用户远程登录
出于安全方面考虑,MySQL 默认只允许 root 用户本地(localhost, 127.0.0.1)登录,通过以下步骤开启 root 用户远程登录。
mysql -u root -p输入 root 密码进行登录,登录后执行 use mysql 来切换要操作的数据库
use mysql查看数据库用户及登录权限
select host,user from user;返回结果如下:
mysql> select host,user from user;
+-----------+------------------+
| host      | user             |
+-----------+------------------+
| localhost | mysql.infoschema |
| localhost | mysql.session    |
| localhost | mysql.sys        |
| localhost | root             |
+-----------+------------------+
4 rows in set (0.00 sec)
通过以上结果可以发现,root 用户的访问权限是 localhost ,执行以下命令将 localhost 修改为 % :
update user set host='%' where user='root';刷新权限:
flush privileges;通过以上步骤,root 用户已经可以远程登录 MySQL 服务器。如果还是无法登录,请检查是否使用了准确的 MySQL 端口且防火墙已放行了该端口。


